This series of short articles will cover several services needed for publishing a static website on AWS. Starting from registering a domain name in Route 53 Domain Registrar, configuring a S3 bucket for static hosting, deploying a cloudfront distribution, adding an SSL certificate, creating A-Records and finally creating, deploying and adding triggers for a lambda@edge function.
Register a domain
This part will definitely cost some money as there is no such thing as a free domain name. There’s plenty of domain registrars but considering we’re using aws the most convenient approach is using their own. Go to Route 53 service, click on domain registration and pick a domain name you’d like to buy.
After selecting your domain, you’ll be asked to enter your details and toggle a privacy protection field which is enabled by default. This will hide your personal information from the public DNS database where anyone can look it up.
You can also choose to register your domain name for up to 10 years before checking out and paying. This does not provide any discounts but you lock in your domain at the current price.
Upload website to S3
Now we’re gonna upload a static files which will be our website. A simple index.html file will suffice but I’d recommend making something a bit more complex with additional files and folders to make sure everything is serverd correctly. You can also use a default gatsby generated site from this github repo .
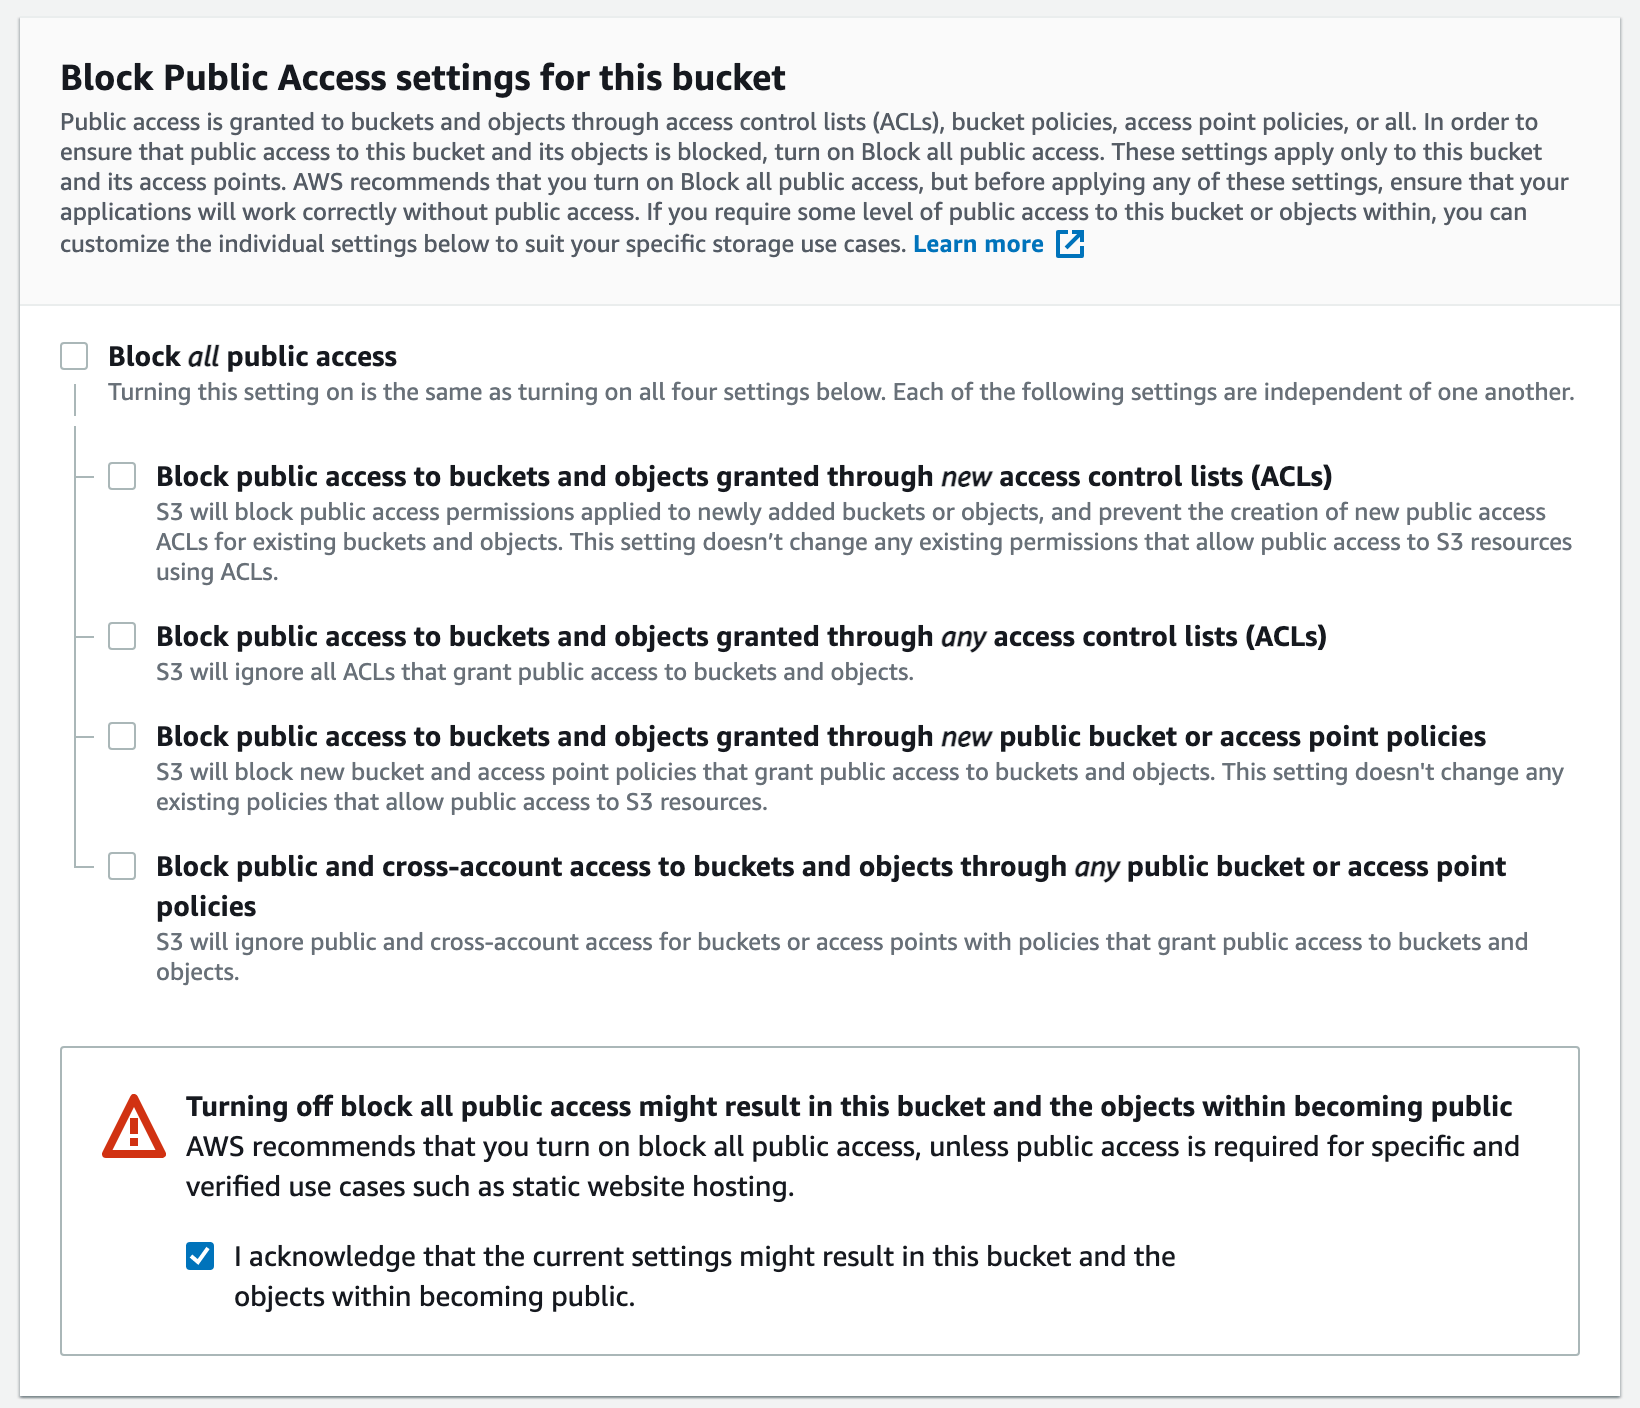
In the S3 console, create a bucket. The name of the bucket has to be the same as your domain e.g. exanubes.com and it has to be completely public. This means you have to opt out of blocking all public access and confirm that you really want to do that. Without the confirmation the bucket will revert to blocking all access.
Now go inside the bucket and drop all the files for your website. The easiest way is to go inside a folder, select all files and drag and drop into the aws console.
Enable static hosting
S3 buckets are just that. They will hold your files and grant you access to them but that’s not enough. In order for us to be able to visit a domain name and see the website the files need to be sent to the browser and parsed as a website, usually it’s done with technologies such as Nginx.
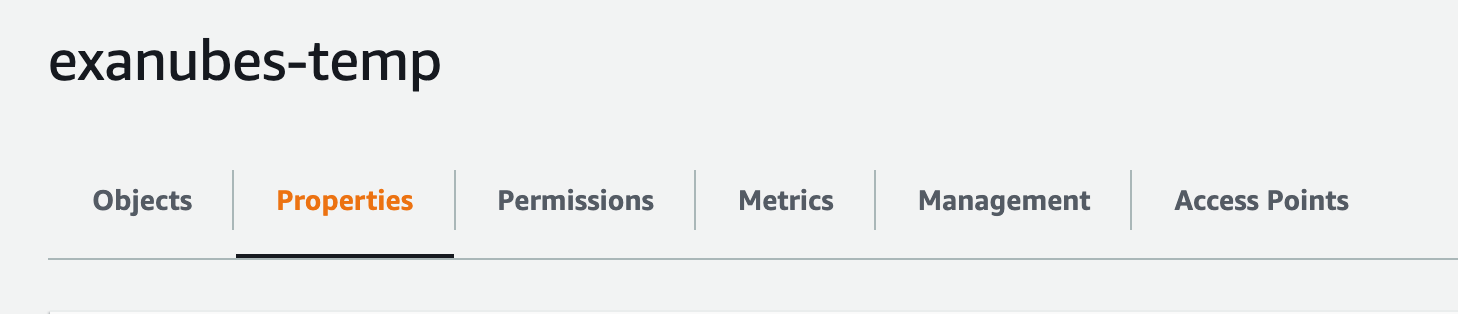
Luckily, this is much easier. Go to Properties, scroll all the way down and find the Static website hosting section. Enable it and point to your index.html and optionally to your default error page.
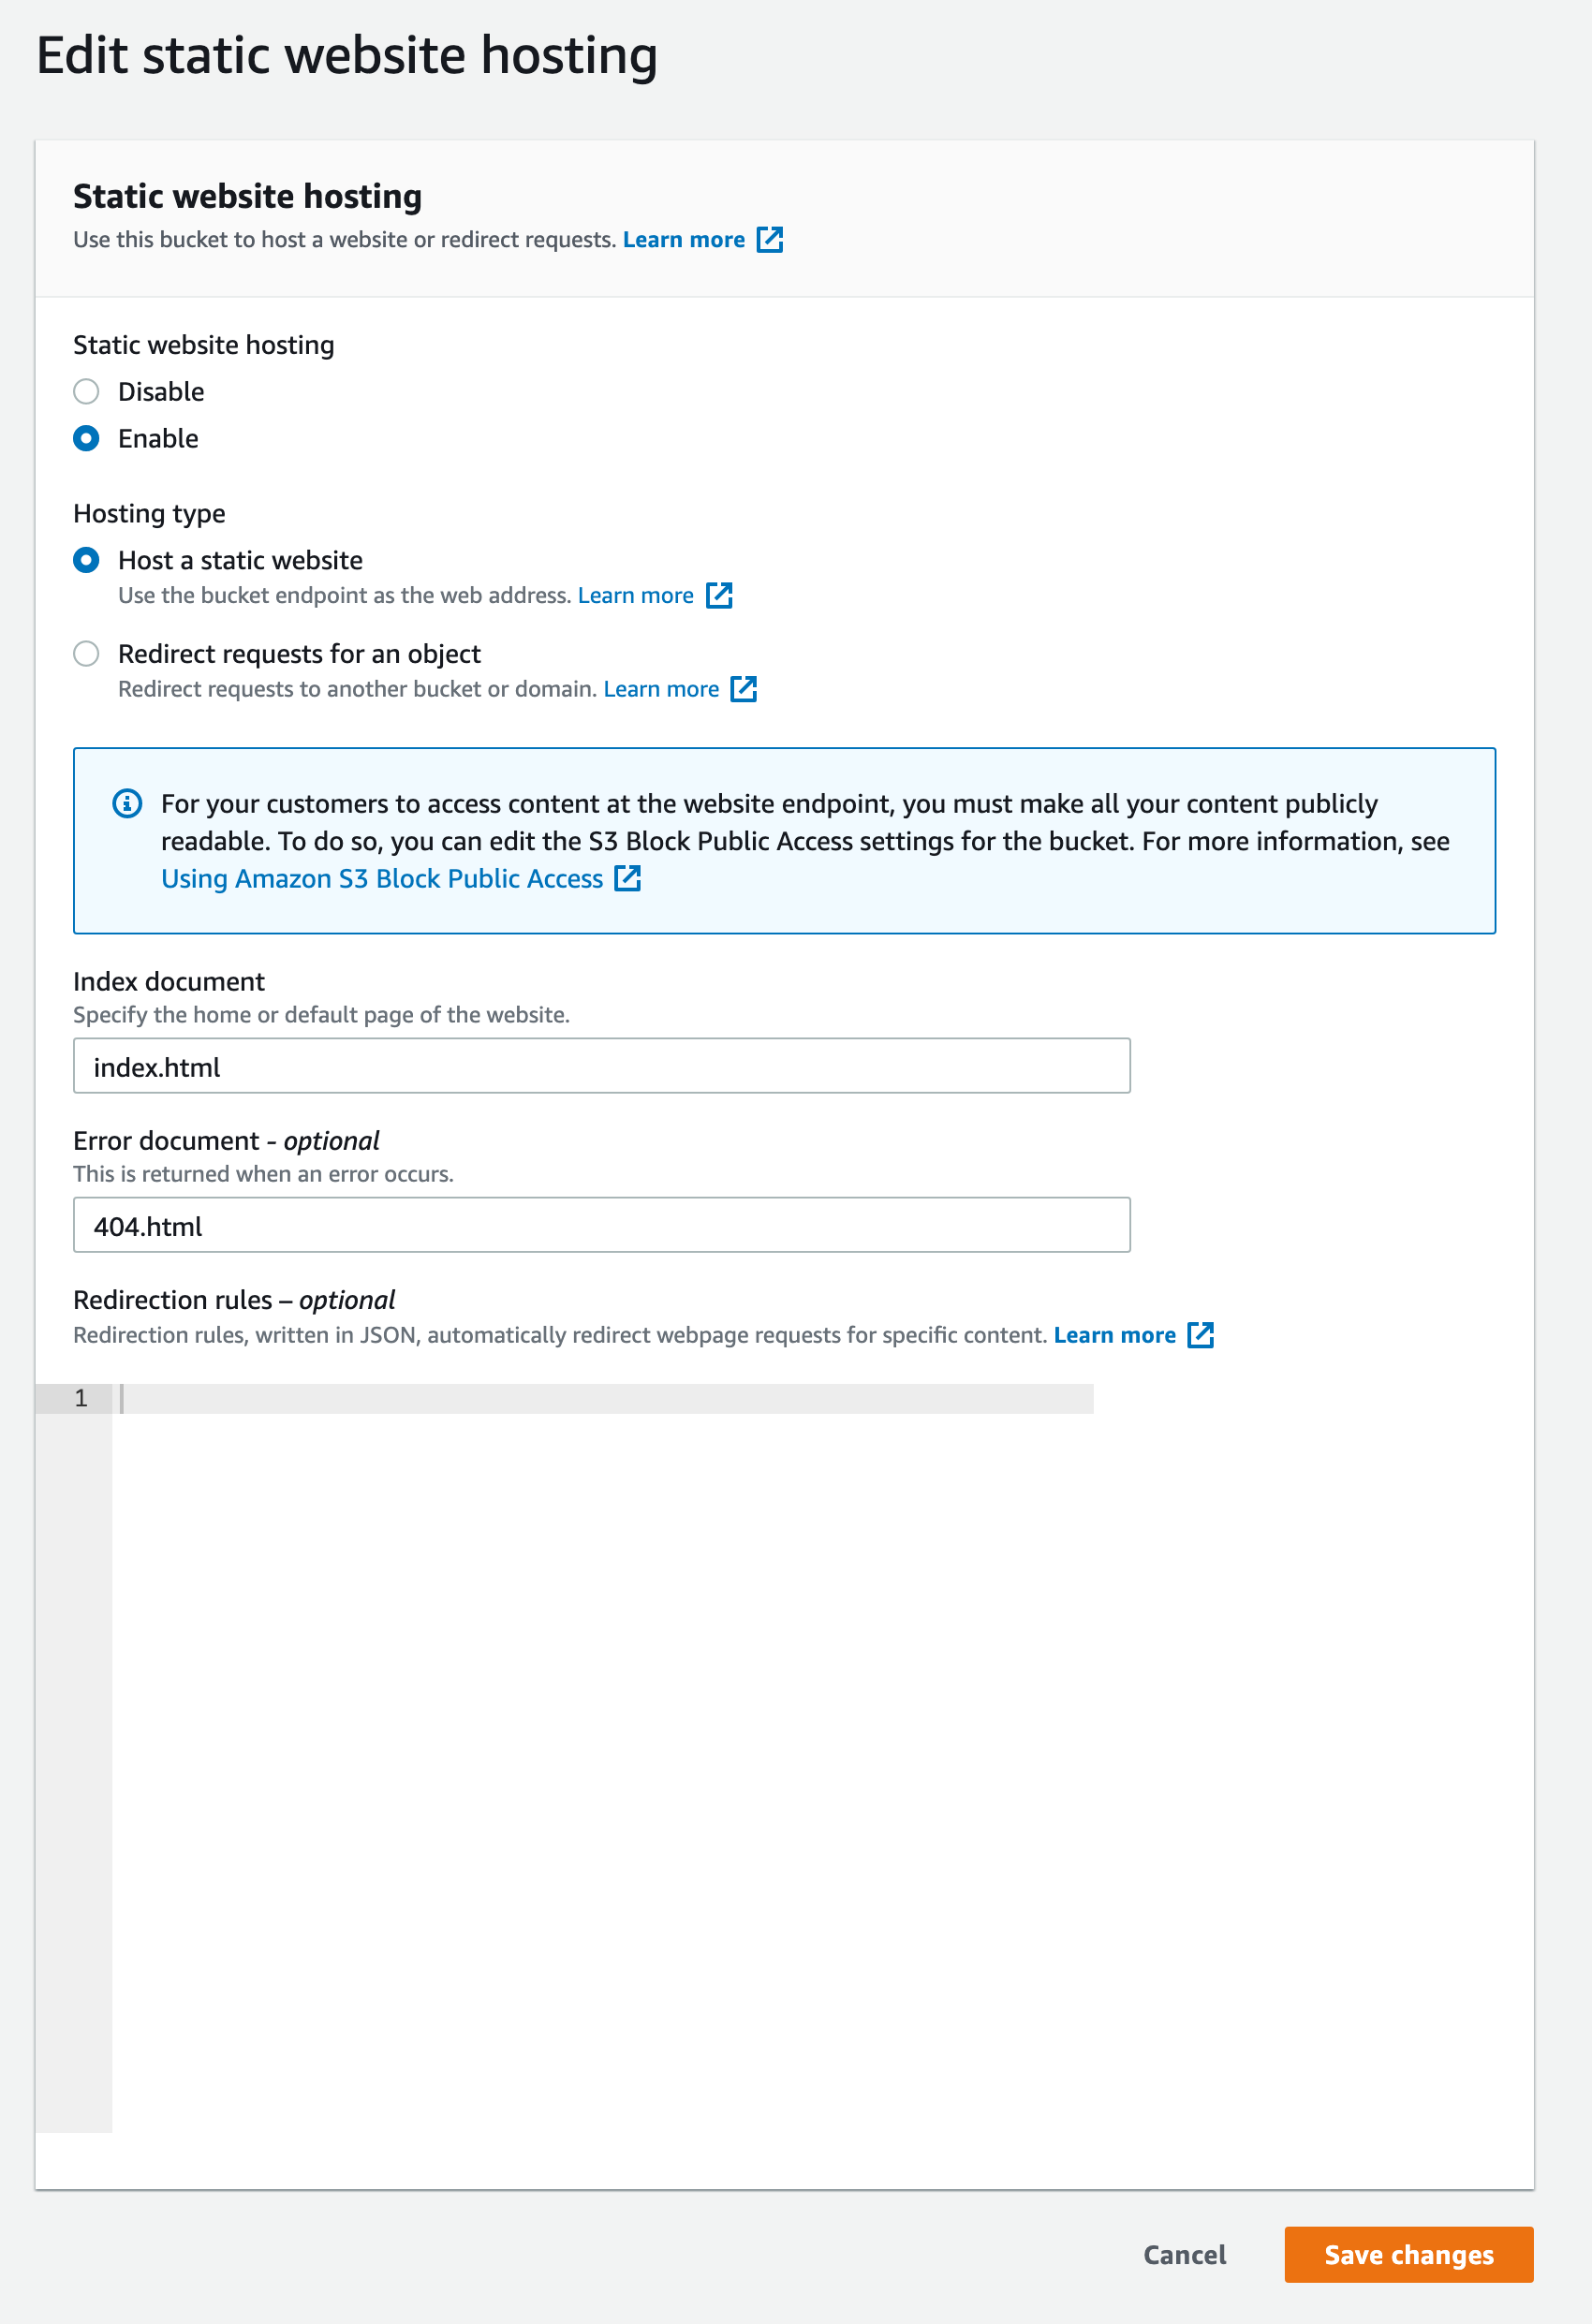 After you save, you should now have a custom URL to your website inside the bucket. Should you go to that URL it will give you a
 403 Forbidden error page. That’s because aws relies on permission policies when accessing anything.
Grant read permissions
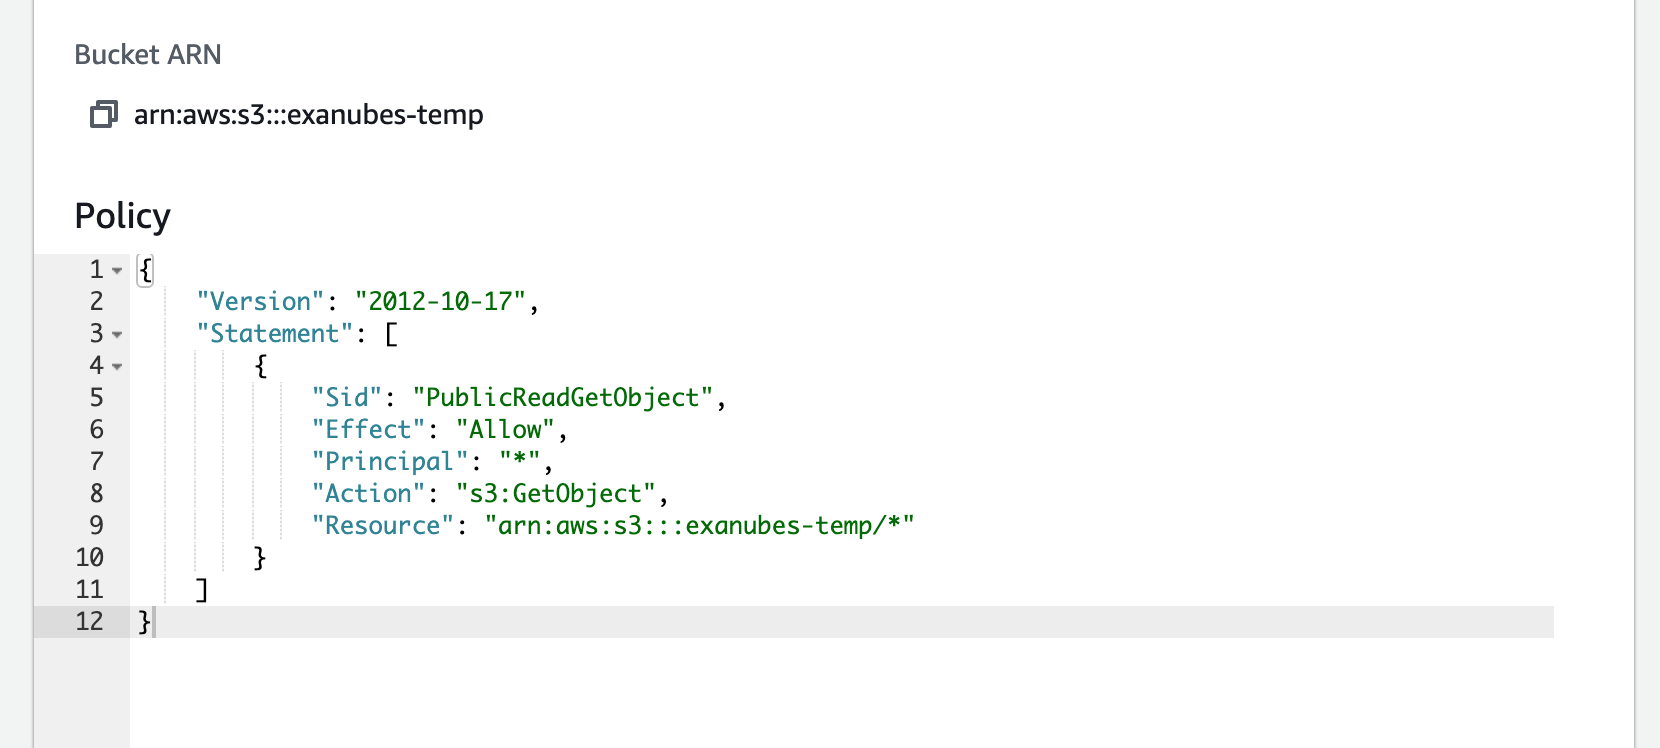
In the menu, next to Properties, go to Permissions. Find the empty section Bucket Policy and edit it. Paste the following policy which sets public read access. Remember to change the bucket name in Resource array. This is the ARN of your bucket which you can find above the editor.
{
    "Version": "2012-10-17",
    "Statement": [
        {
            "Sid": "PublicReadGetObject",
            "Effect": "Allow",
            "Principal": "*",
            "Action": [
                "s3:GetObject"
            ],
            "Resource": [
                "arn:aws:s3:::<your-bucket-name>/*"
            ]
        }
    ]
}
Summary
To sum up, we have registered a domain name through Route 53, created and configured an S3 bucket for static hosting and created a permission ruleset to allow public access. Next up we will spin up a Cloudfront distribution as our CDN and add an SSL certificate to the domain name for a secure connection.